Table of Content
- Task List
- Quick Access to the Task List
- How to create an Activity Assignment
- How to create a Shipment Assignment
- Creating an Assignment in the Future
Task List
- Task List is designed to help you keep track of items that require your attention and action.
- Assigned Shipments can be viewed as long-term items that require tracking, while Assigned Activities are short-term tasks that need to be completed promptly.
- The objective is to consistently decrease the number of items listed on the counter.

When you first open the Task List in the Back Office, you will see a list of All Activities, which includes Shipments, Activities, and Email assignments.
- The clipboard icon marks an item as Completed and will move it to the Completed section.
- Click on the ellipse icon to pull up the full menu of action items.
- Depending on the type of activity, a corresponding icon will be assigned by the system to represent it.
![]() The Black Truck icon signifies a shipment has been assigned to you.
The Black Truck icon signifies a shipment has been assigned to you.
![]() The White Truck icon represents activities related to Status Changes and Operational tasks.
The White Truck icon represents activities related to Status Changes and Operational tasks.
![]() The Sticky Note icon represents activities classified as Claims, General, and All.
The Sticky Note icon represents activities classified as Claims, General, and All.
![]() The Dollar Sign icon signifies activities related to Pricing, Receivables, Payables, and Audits.
The Dollar Sign icon signifies activities related to Pricing, Receivables, Payables, and Audits.
![]() The Black Envelope icon represents any Email related activities.
The Black Envelope icon represents any Email related activities.

Quick Access to the Task List
To quickly access the Task List from anywhere in the TMS, simply click on the clipboard icon next to your company's name. This feature allows you to easily review your daily tasks.

For further information on the Task List, please click HERE.
How to create an Activity Assignment
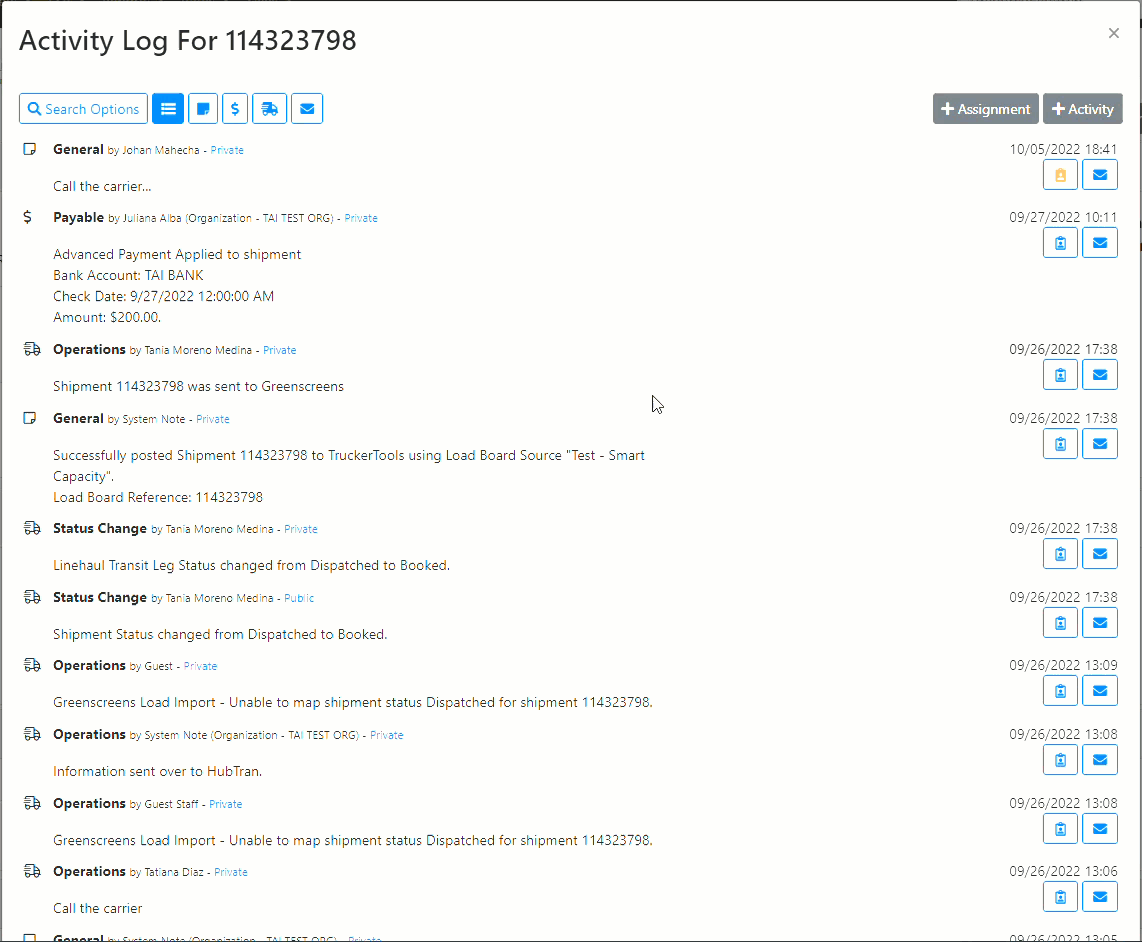
Within the shipment activity log, you will encounter two distinct options: Assignment and Activity.
Assignment
The Assignment feature is designed for logging necessary actions related to the shipment and assigning them either to yourself or a specific LSP staff member.
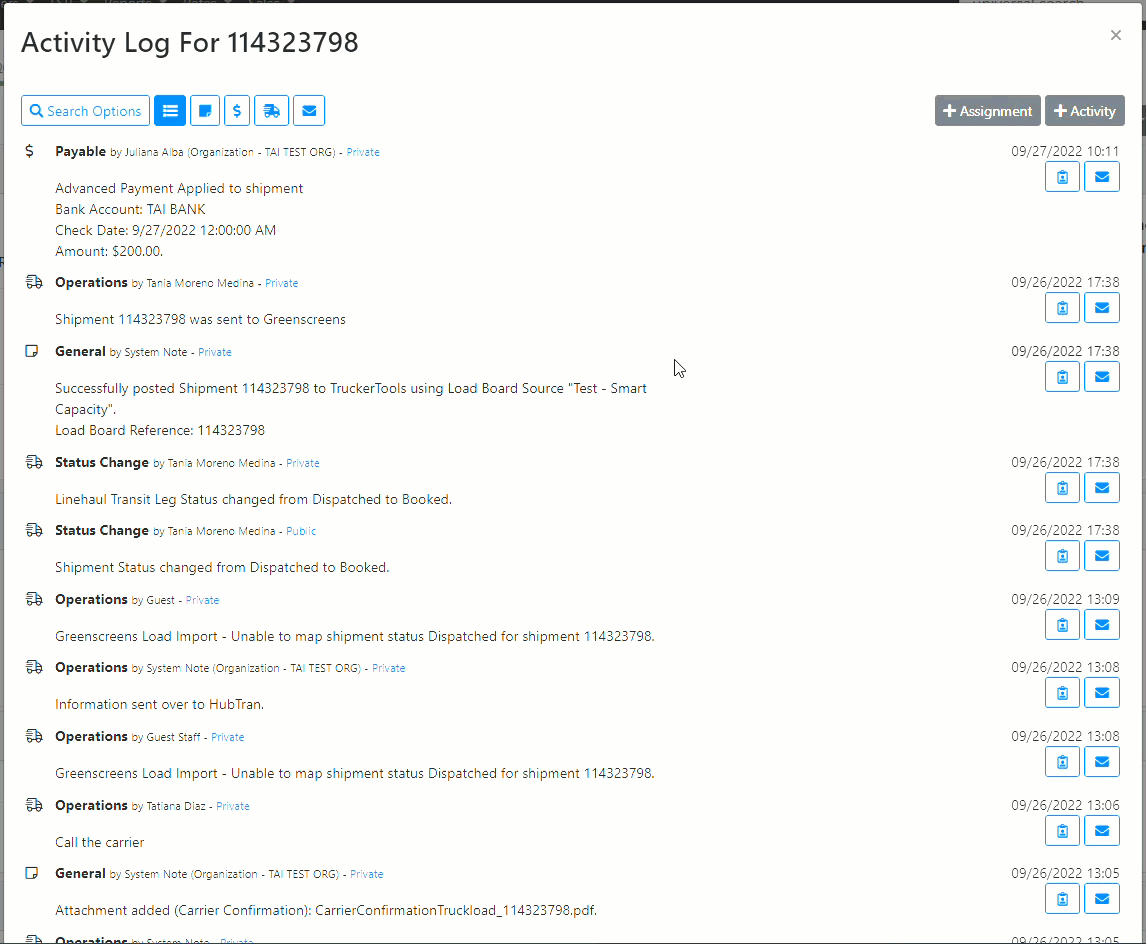
Activity
The Activity option allows you to record any important details about the shipment. While the initial assignment feature may not be available, if you later determine that follow-up action is necessary, you can assign it to yourself using the clipboard icon.
For further information on the Activity Logs, please click HERE.
How to create a Shipment Assignment
Within the shipment details page, you can locate the Assignment option, which enables you to assign the entire shipment to either yourself or a specific LSP staff member.

You can assign a shipment to multiple people or a team. For further information on team collaboration, please click HERE.
Creating an Assignment in the Future
You can schedule an assignment for a future reminder, allowing it to temporarily be put aside and automatically reappear according to the set schedule.
Activity Assignments
To utilize this feature, simply access the Activity log and click on the arrow next to Save to select the available times for scheduling your assignment.

Shipment Assignments
To utilize this function, go to the Assignments tab on the shipment details page and click on the dropdown arrow next to the "Assign to Myself" option. From there, you can choose the desired times for scheduling your assignment.

Users have the flexibility to schedule assignments for a specific date and time using the "Assignment Set Date" option, rather than being limited to preset intervals.

The "Assignment Set Date" option can also be accessed through Bulk Operations on the Shipment Search page.
For further information on Shipment Search Bulk Operations, please click HERE.