This article will discuss the Truckstop Pay integration and its workflows. For brokers/shippers, they will be able to make payments directly to their carriers’ Truckstop Pay accounts and potentially reduce their payments by using the Quick Pay functionality. Carriers will be able to receive payments directly into their Truckstop Pay account and elect to be paid ahead of the scheduled term by choosing Quick Pay.
While it is preferred that the carrier first signs up with Truckstop Pay and the broker/shipper uses the carrier’s Truckstop Pay account id for payment, the broker/shipper can also pay a carrier that does not have a Truckstop Pay account. When the carrier is not a Truckstop Pay customer, the payment process will deliver an email to the address used in the payment, and the carrier will have to option to create a Truckstop Pay account and request Quick Pay or receive a check on the payment’s scheduled term date for a $25 fee.
1. Log in to Truckstop Pay:
Go to Truckstop Pay and log in with your credentials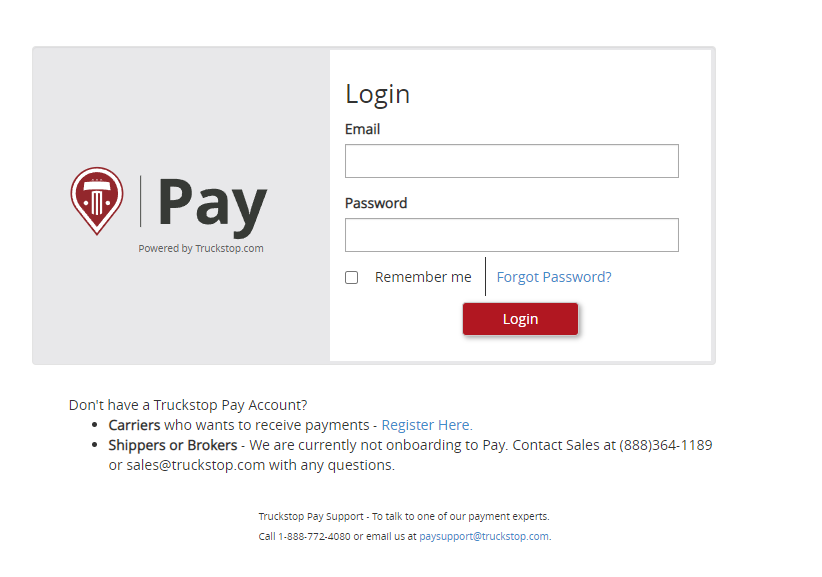
once you log in you will the following home page:
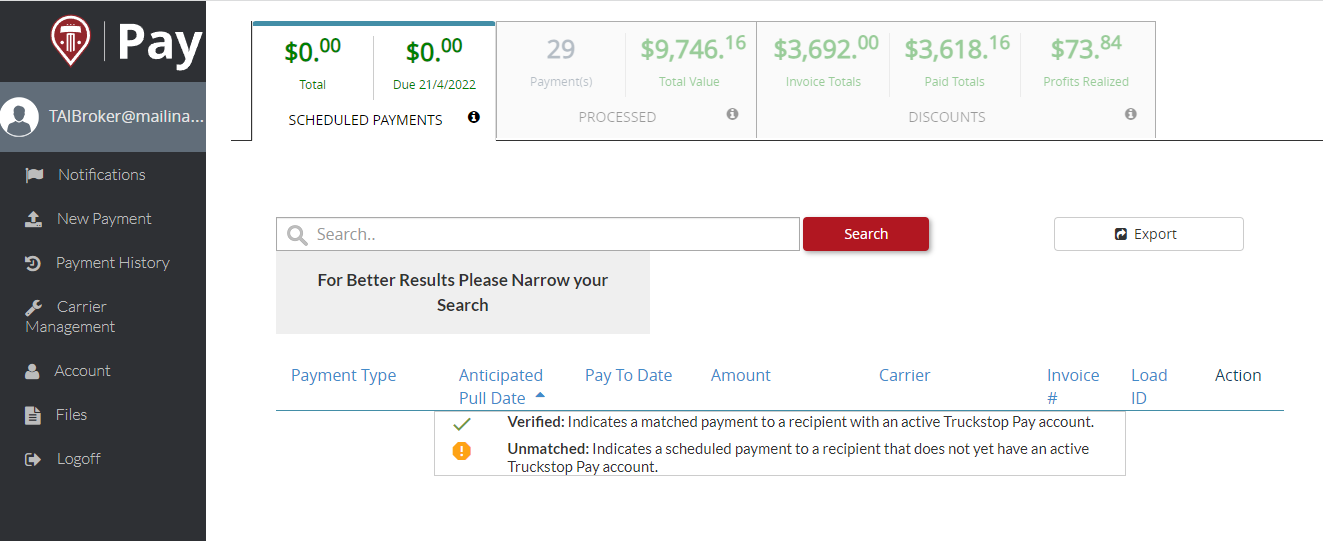
On top you will find your scheduled payments, your processed payments, and the discounts which is information that represents the amount of money you saved withing the last 30 days by offering the carriers the quick pay option.
Also you can search for specific payments on the search bar, you will also see a tab with multiple columns showing information about the payments, and you can export this information to excel by hitting the export button.
You will also see under the Action column 2 simbols depending on if the recipient has an active Truckstop Pay account:

2. Do a Payment:
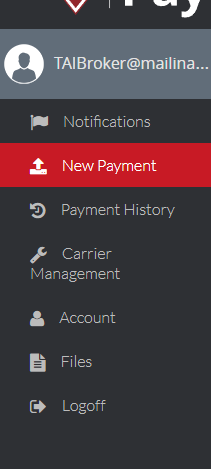
Whenever you want to perform a new payment you just need to click on the new payment option on the left menu:
Then the Securely schedule a payment using an email address form with the required information, this will create a scheduled payment. You can also provide information about the shipment which is not mandatory but may help with reconciliation and rate history data.
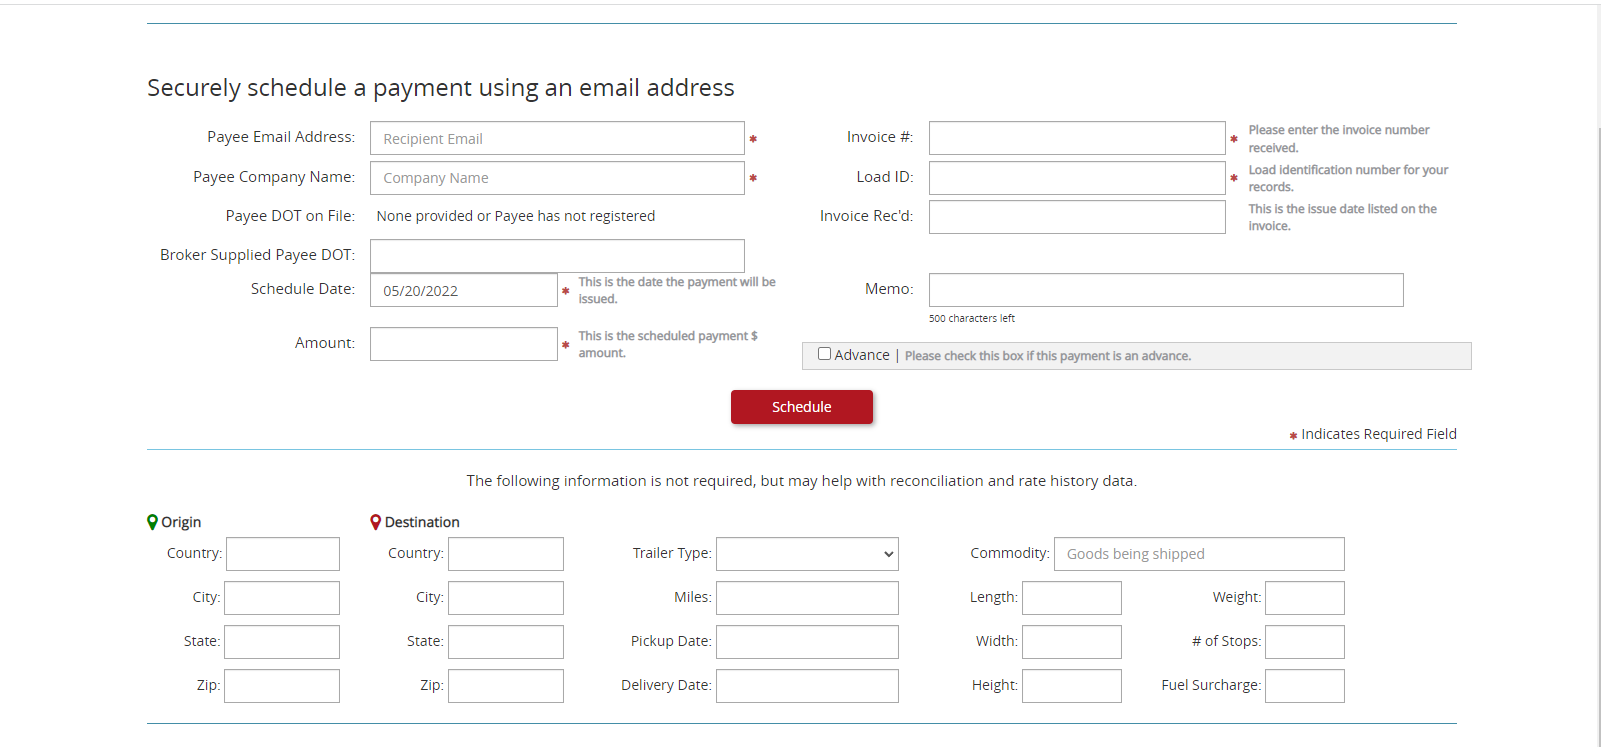
***Note: Truckstop will look for the email address you have registered for this carrier and will try to match it to an active Truckstop Pay account, if the email address does not match an email will be sent to the carrier’s email address with information on the payment and the ability to register for Truckstop Pay***
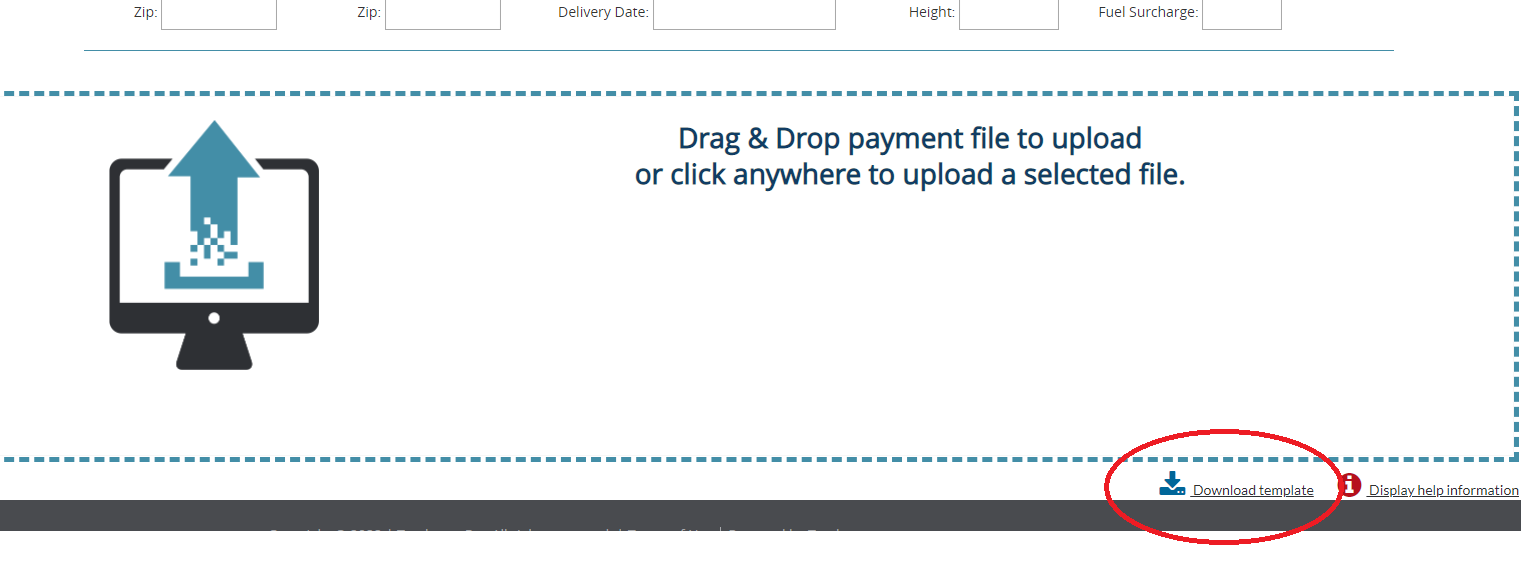
You also can upload payments in bulk by downloading the template and draggin and dropping the file on the option at the bottom of the page.
Once the payment has been registered the carrier can see pending payments in their integrated application or directly in the Truckstop Pay application. Truckstop Pay will release a payment to the carrier’s default bank account on the scheduled term date.
For carriers that are already in the system, they don’t have to do anything if they want to wait until the invoice term date to be paid. If they want to be paid early, they can choose Quick Pay. Quick Pay is not available for payments less than $1.00 or greater than $25,000.
***Note: For advanced payments, the workflows are the same you just need to check the Advance box to mark this as an advanced payment***
***Note #2: The QuickPay option will be reflected on Truckstop pay if this has been set up on the carrier profile on the TMS, if you want to know how to this please refer to LSP Carrier Profile***
3. Edit a Payment
Once a payment has been scheduled, cases may arise in which the payment will need to be edited. For the most part, if the payment is still in the scheduled or unmatched state the payment will be editable.
When editing the payment, make sure to resubmit all data that was included in the original payment along with the changed data. If you don’t submit all the data, the empty or missing fields will cause the payment to be updated with null values for those fields. Changes to the payment will cause a notification to be sent to the payment recipient. If the recipient is changed as part of the update, the previous recipient will not be notified (the payment will simply disappear from their account) and the new recipient will receive the normal payment scheduled notification.
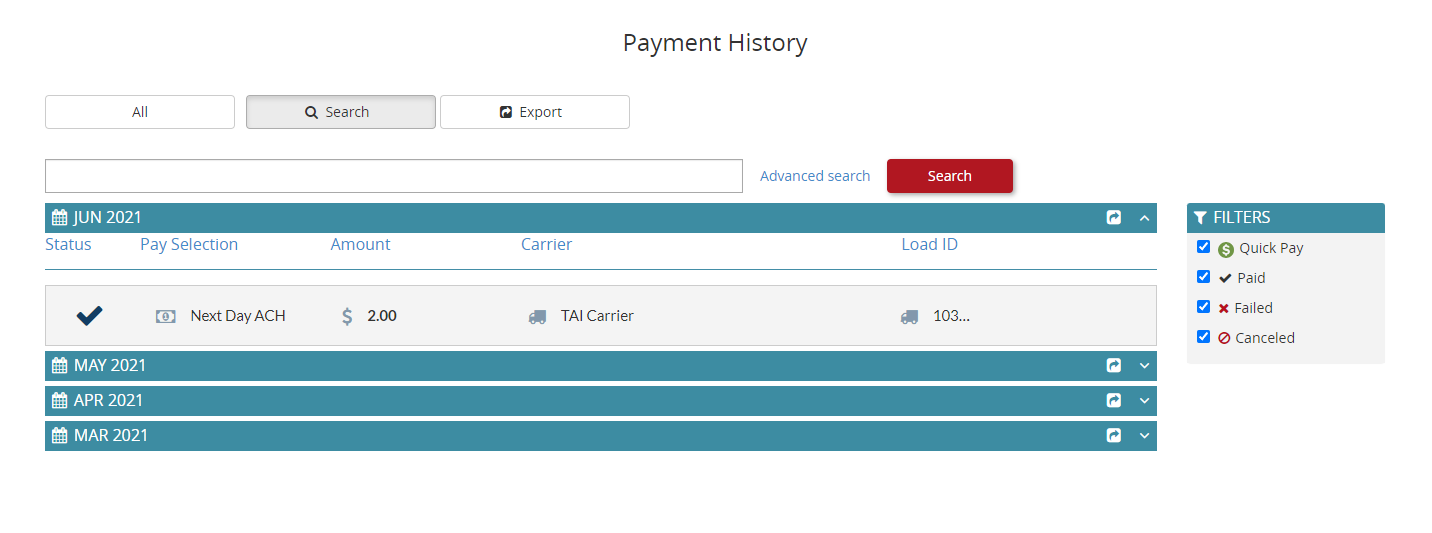
4. Payment History:
This is the second option on the left menu, here you will be able to see all the payments you have perform, search for specific ones and export the information to excel.
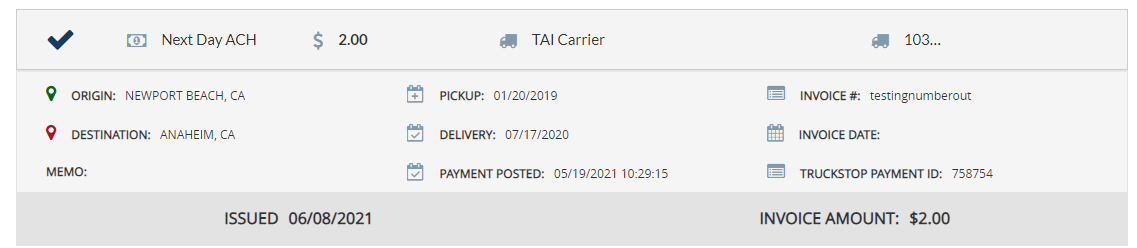
Whenever you click on a payment you will the payment detailed information:
each payment will have a symbol according to the filters you have selected for your search:
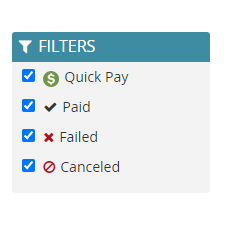
You can also select to perform an advanced search to have more filters available:

***Note: The payment confirmation you will find on the TMS under the Accounting < Bill Payment History < Check number is added when you're registering the payment under Accounting < Pay bills < Truckstop Pay***
5. Carrier management:
This is the third option on the left menu, from here you can see your carrier list with their information, search carriers by an specific criteria or filter the results.
Also, you can invite carriers by clicking on the Invite Carrier button and filling the form:

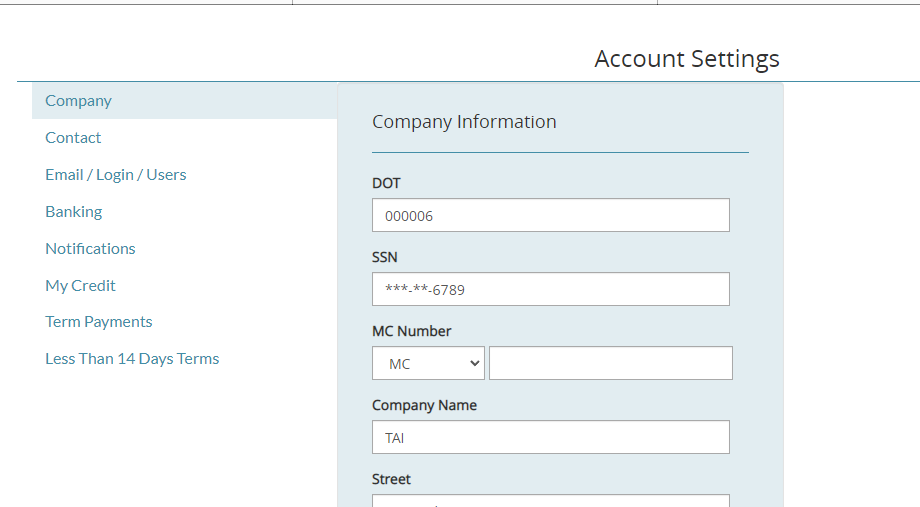
6. Account:
On this option you can edit your company information, contact information, email, log in, users, banking information, notifications, My credit, Payment terms, and the less than 14 days terms.