Table of Contents
- Tariff Wizard Overview
- Tariff Profile
- Disabling Tariffs
-
Creating Truckload Tariffs from Loadboard Sources (DAT, Loadsmart, etc.)
- Shipment Add Tariff
- Other Resources
1. Tariff Wizard Overview
Tai's Tariff Wizard empowers brokers to create their own connectivity to carriers within the TMS. The TMS Admin can build API Tariffs that are electronically integrated into the TMS with all your carrier rates. This allows your rating engine to display real-time rates by retrieving pricing from carriers through direct API integration:
2. Creating an API Tariff
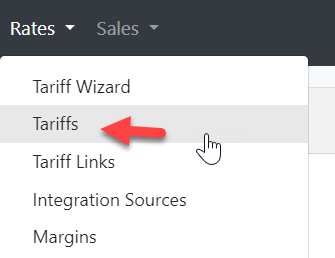
To access the Tariff Wizard, click Rates on the top menu, then Tariff Wizard:
You will need to fill in the following information:
- Carrier: After you select a Carrier, on the right, Source Instructions will come up providing step-by-step instructions for building a tariff for that specific carrier.
- Direction: used to designate whether a tariff is 3rd Party, Inbound, or Outbound
- Checks: Check off if sections are needed for the Tariff to work:
- Dimensions Required: When set, dimensions have to exist on the shipment to be taken into account during the rating process.
- Pallets Required: When set, requires the Package Type to be equal to Pallets or Skids to be taken into account during the rating process.
- Freight Class Required: When set, requires Freight Class to exist on the commodity to be taken into account during the rating process.
- NMFC Required - When set, requires NMFC on the commodity to be taken into account during the rating process.
-
- Customer Specific
- Display in Front Office (Tariff will not appear to customers in the customer portal if not checked off)
- Bill To Address: (shows up on BOL) can be edited directly from this screen by clicking 'Change' and then entering your information
- Account Number (will show on Tariff Profile and Bill of Lading)
- Pricing Information
- API Token
- Account Number
- Payment Terms
Once finished filling out all the required fields, click Save & View Details and the tariff will have been created.
Multiple links on a single tariff can be created if the same rating details have to be linked to multiple companies.
- Manual Tariffs cannot be entered into the system using the Tariff Wizard, which requires the help of the Support Team.
- For 3rd Party Broker Tariffs such as Priority1, Echo, Exfreight Zeta, INC, Worldwide Express, BlueGrace, GlobalTranz, and QuadExpress, please contact Support.
3. Tariff Profile
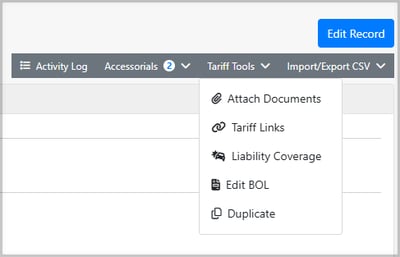
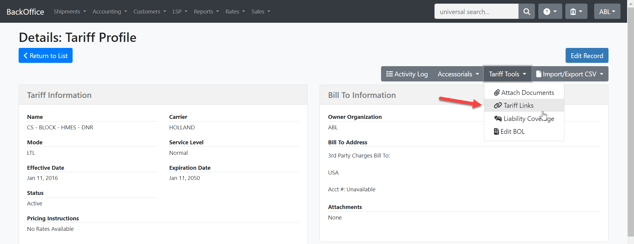
To access the Tariff Profile, click Rates on the top menu, and Tariffs. The Tariff Profile represents the Tariff now in the TMS. To make any modifications to the Tariff, click the blue Edit Record button on the top right. You can see where the Tariff is linked to by clicking Tariff Tools and Tariff Links.
Much like a Shipment Profile, this Tariff Profile allows you to review the details of a tariff, so that you can fine-tune things like requirements, lane details, bill to information, effective date/expiration date, attachments, and more.- The top-level menu of a Tariff Profile will allow you to view or manipulate the following:
- Activity Log: shows all the activities performed on the tariff
- Accessorials: allows you to add tariff accessorials or lane accessorials
- Tariff Tools: Will give you access to the following:
-
-
- Attach Documents
- Link Tariffs (to Organizations, Customers, and Brokers so that other entities can view these rates)
- Review Liability Coverage
- Edit BOL
-
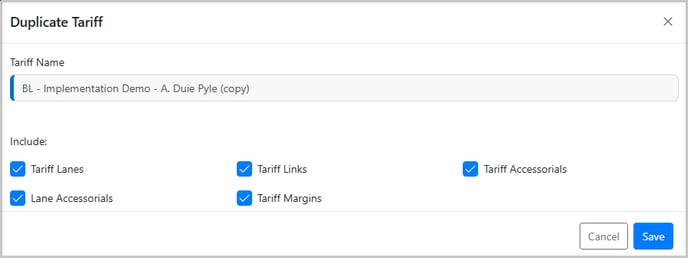
Duplicate: When duplicating a tariff, you can choose which specific information to carry to the new tariff. The available options include:
-
Tariff Lanes
-
Tariff Links
-
Tariff Accessorials
-
Lane Accessorials
-
Tariff Margins
-
-
-
- Import/Export CSV: allows you to import or export a tariff from Excel using the Tariff Import Template. The Tariff Import Template can be viewed by clicking the Import/Export link and then the 'Template' button
-
- Tariff Profiles can be accessed directly from Rates > Tariffs, where you will see a search screen that allows you to search through all of your tariffs and make edits if needed
4. Adding DNR Tariffs to Organizations
DNR Tariffs are used to prevent rates from returning above the organization. They are useful when the broker doesn't have any existing tariffs for the specific carrier in their profile (Marketplace, Sub-Organization). To do this, follow these steps:
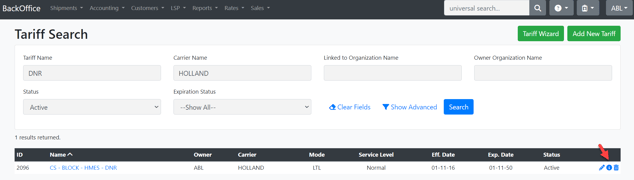
- Go to Rates > Tariffs
- Look up DNR and the carrier name in the search fields
- Click on the information icon to be taken to the Tariff Profile
-
Click on Tariff Links
-
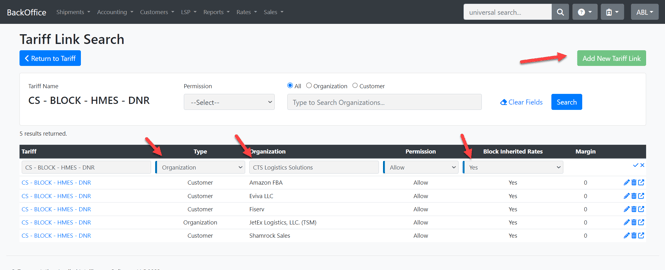
Add a New Tariff Link for the wanted organization
-
Make sure that Block Inherited Rates is set to "Yes"
-
Save the tariff link
5. Disabling Tariffs
Disabling tariffs will prevent rates from populating while still preserving the tariff for later use if desired. This can only be achieved for direct tariffs with carriers. Specific carriers from 3PL tariffs cannot be disabled.
Users can disable tariffs by navigating to the Tariff Profile. Follow these steps:
- Navigate to Rates > Tariffs
- You will then be taken to the Tariff Search page
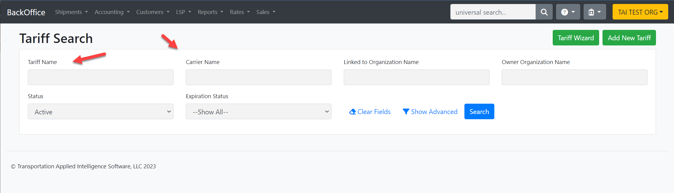
- From this page, you can search by the fields shown above. If you know the Tariff Name, you can use that. Otherwise, specifying the carrier would be the easiest method of finding the desired tariff to be edited.
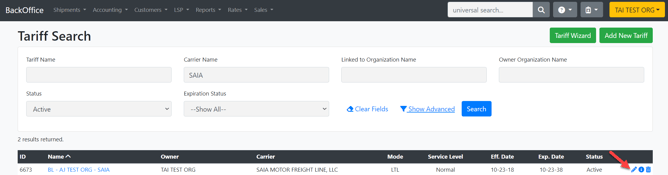
- After specifying the search criteria, a list of relevant tariffs will populate. Click on the pencil icon to directly access the tariff in the editable state.
-
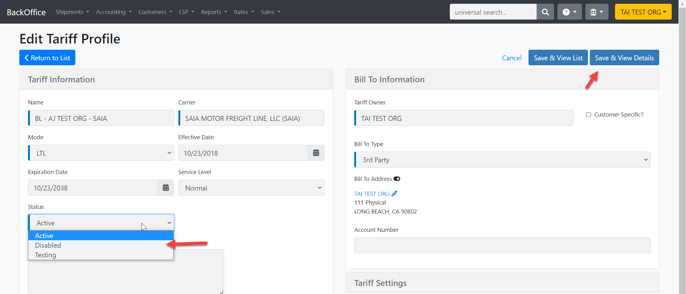
Under the Status field, select "Disabled." Then click on Save & View Details or Save & View List
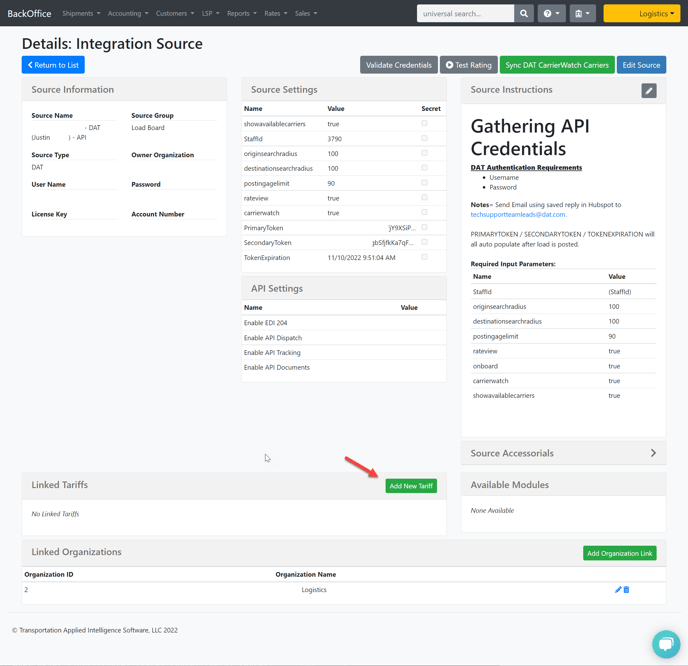
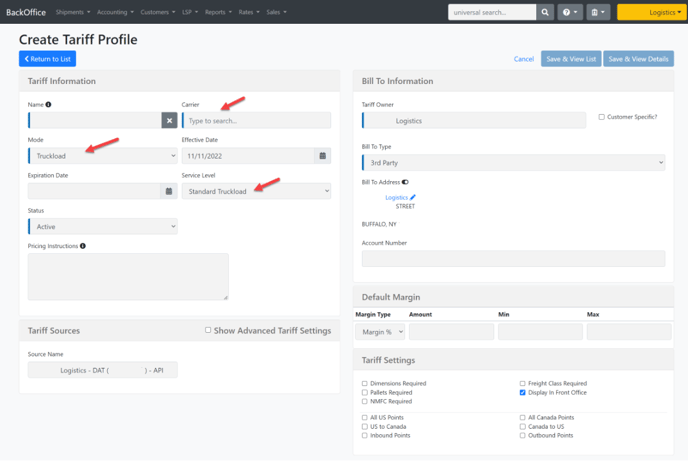
6. Creating Truckload Tariffs from Loadboard Sources (DAT, Loadsmart, etc. )
Loadboards can be used to pull rates into the rating engine by configuring integration accounts as the source when creating a tariff. DAT will be used as the example below but the same applies to other loadboards.
7. Shipment Add Tariff
You can quickly add a tariff to a shipment without running through the rating engine via the Add Tariff function.
- From the Shipment Detail page, click on Edit Record
- In the Cost Calculation section, click on the edit pencil next to the Tariff section
- In the Add Tariff modal, search for the desired tariff. When a tariff is selected, the carrier associated with the tariff will be added to the shipment. This will also update the Carrier Rep since the carrier is being added at that time.
- Removing the tariff can be accomplished by clearing the carrier from the shipment.
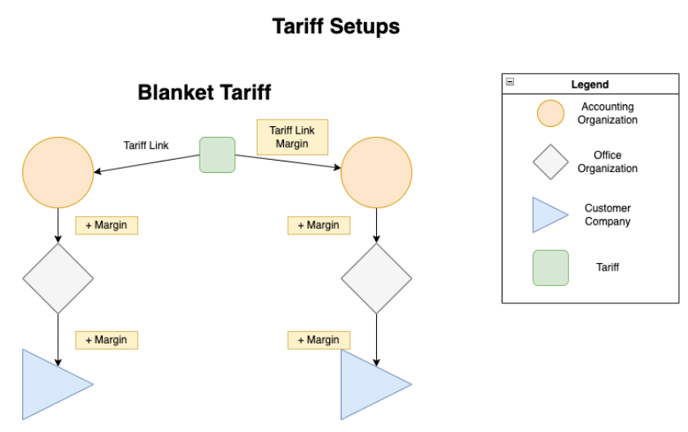
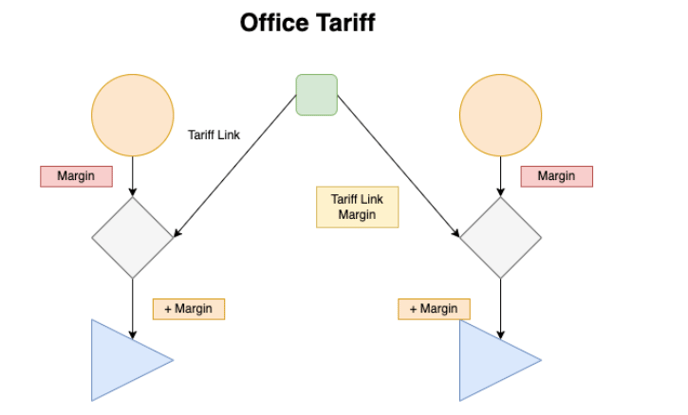
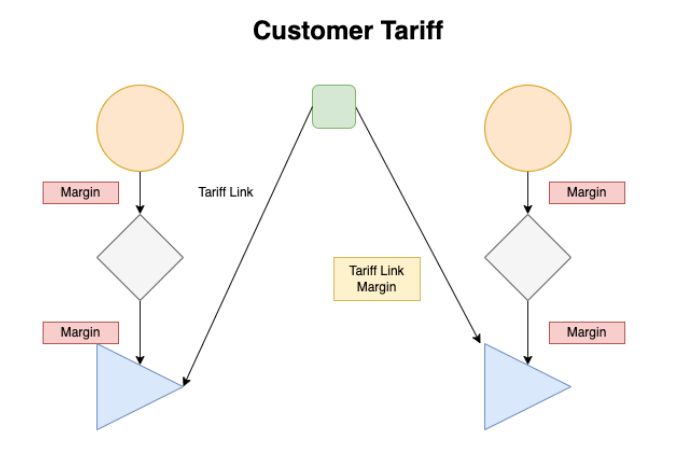
8. Tariff hierarchy