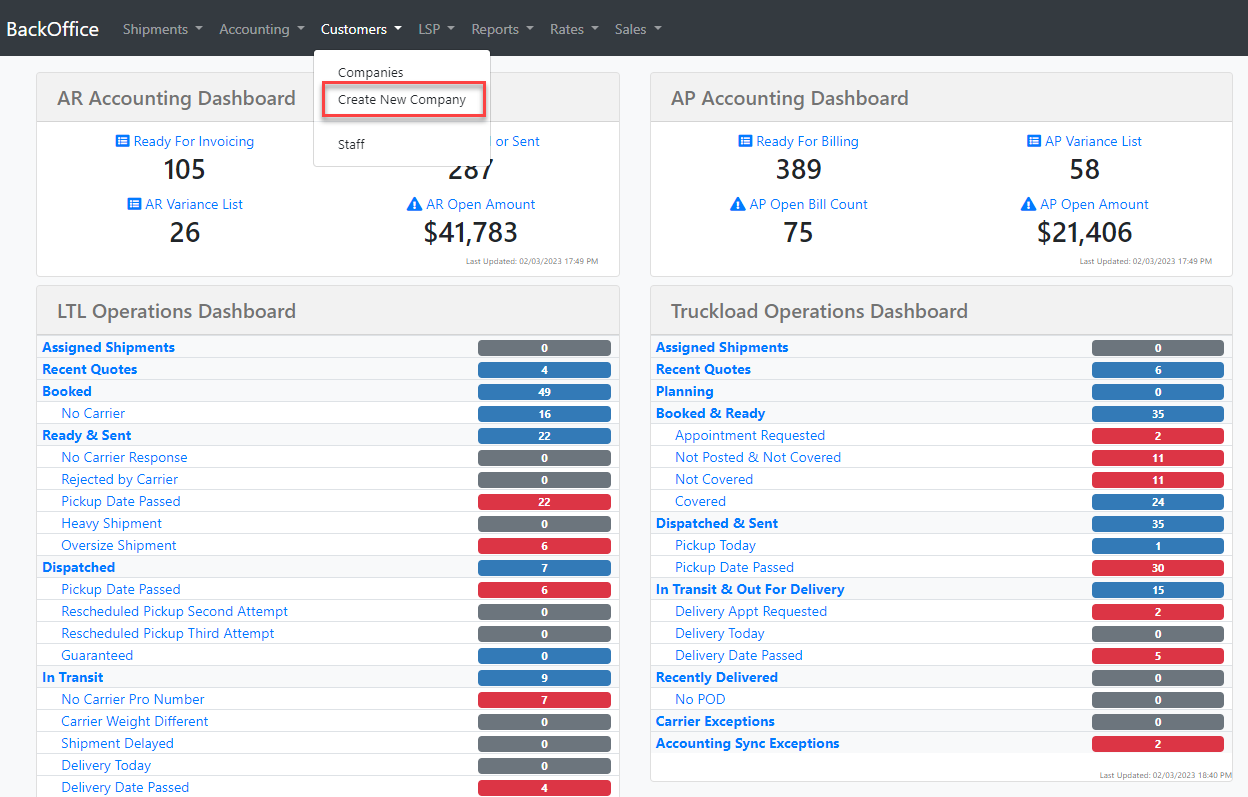
Where to go
Under the customer's tab, you will find the option to "create a new company."
- Blue Hightlighs means it is a required field

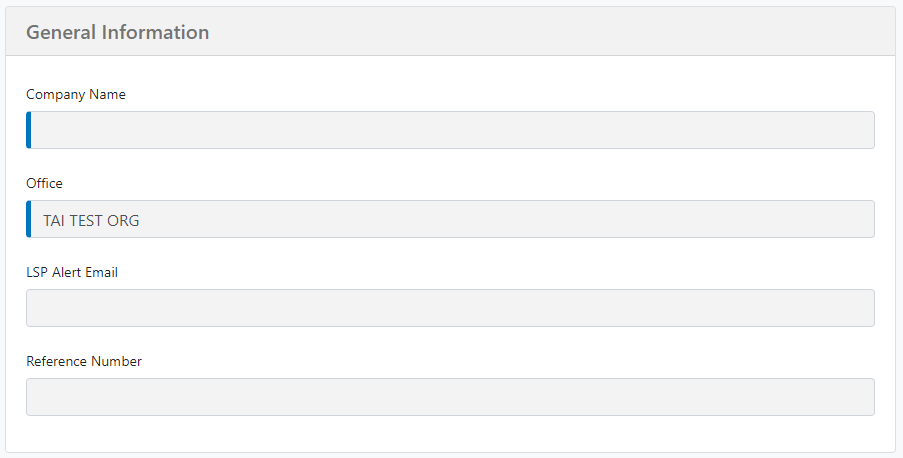
General information
- Here, you enter the customer's name and select the office which they belong under.
- You can add an LSP Alert Email.
- This should be the Broker or LSP staff member's email, and NOT a customer's email; this is the staff member you want to receive an email notification when the customer creates a shipment in the customer portal.
- This email includes cost information, so it is critically important to not enter a customer email in this field.
- Finally, we have the reference number field, which you can use to add to documents, for reporting purposes, or for an EDI project.
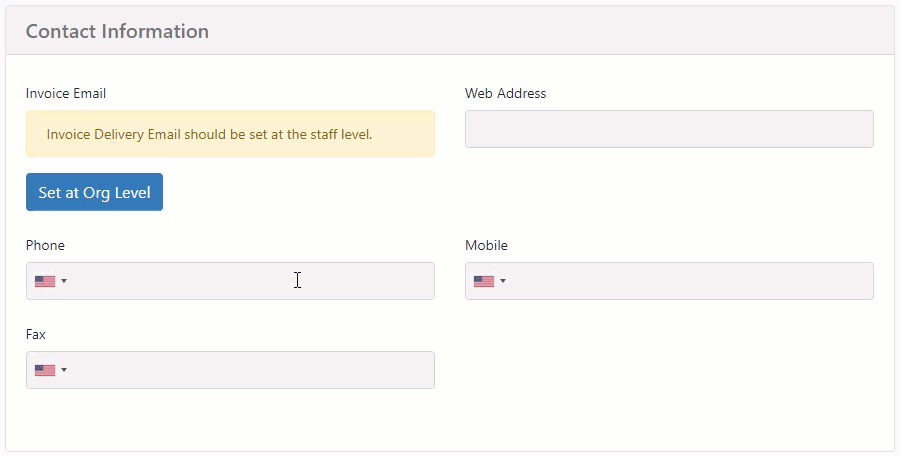
Contact information
In this section you can add a generic invoice email if you want invoices to be set at the organizational level, customer’s web address if needed, phone, mobile, and fax.
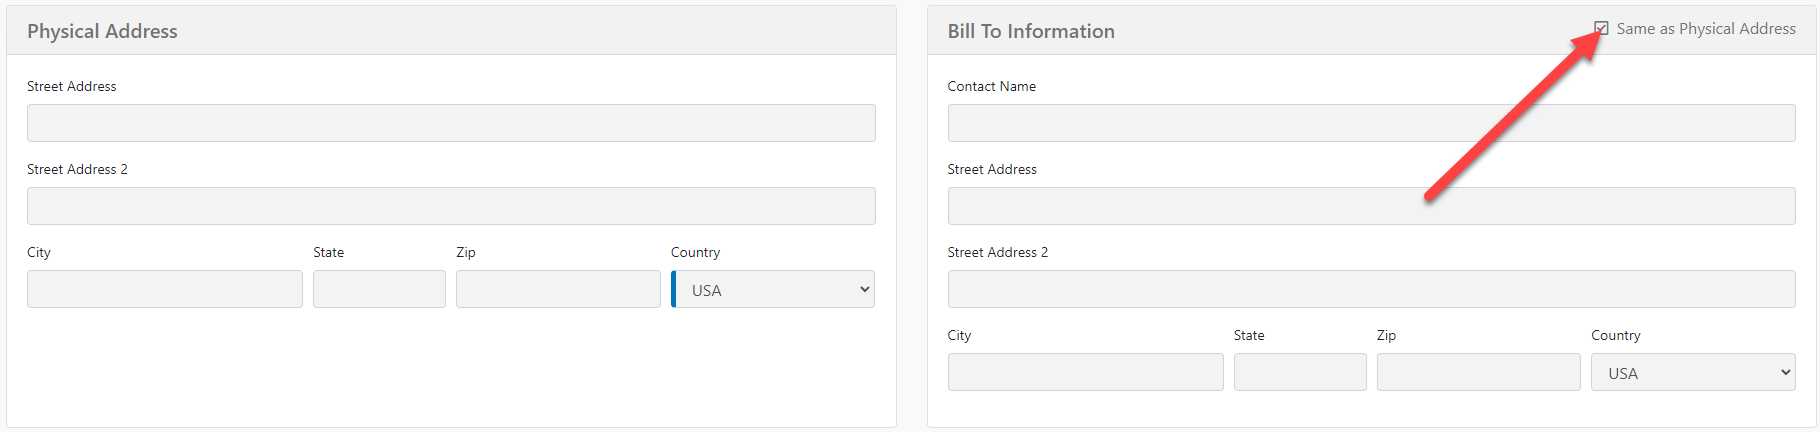
Physical and bill to address
Add a Physical and bill-to address. The same as the physical box will be automatically checked. You can uncheck it if the bill-to is different.
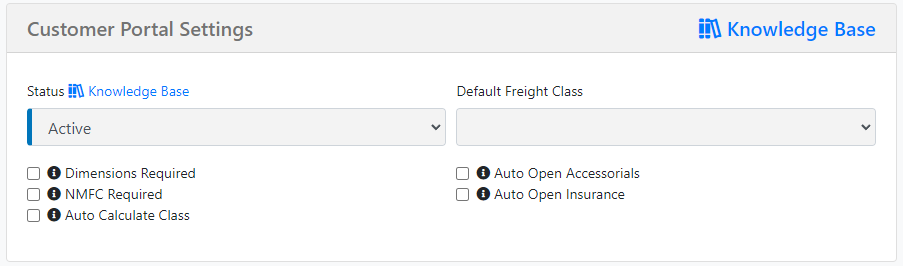
Customer Portal Settings
You will have the option to create/update the status of the customer, whether you want to create/update them as an active, inactive, or locked customer.
You can set a Default Freight Class if you have a customer that is always shipping the same thing over and over.
You will also see options to make Dimensions, and NMFC required fields.
You can make the system Auto-Calculate Class, which will lock it if it is the case that you do not want the customer to calculate their class.
The last options in this section are Auto-Open Accessorials and Insurance, making it so that these are always open when your customers create shipments.
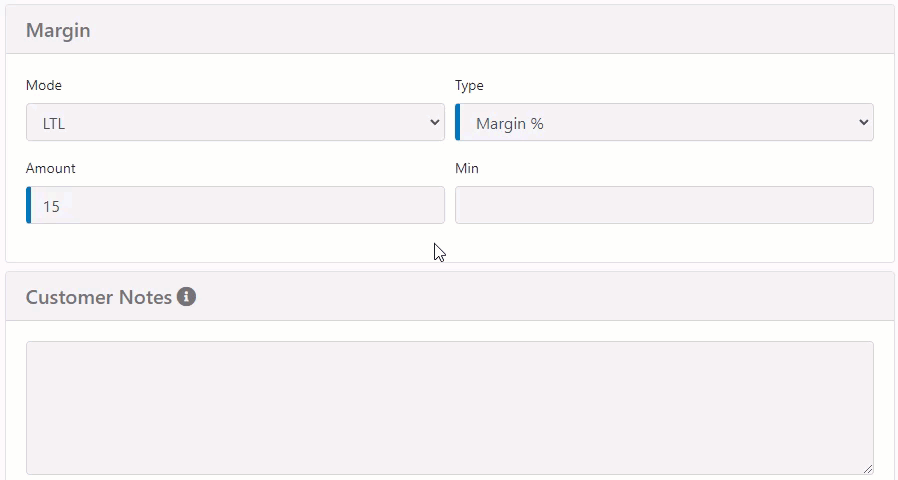
Margin
You can set the margin; by default, the system will set it to LTL, with a 15% Margin. If you do not want a margin for a specific shipment type, in the type of margin, you can set it to none, and you will also have a chance to set a minimum dollar amount.
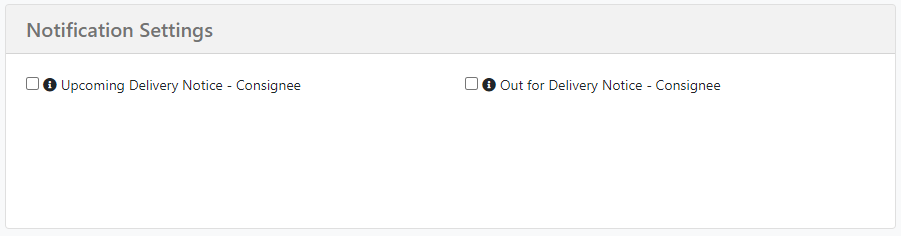
Notification Settings
You will find Upcoming Delivery and Out-for-Delivery Notices for your consignee. If these options are activated, the system will send an upcoming delivery notification when the status changes to "In Transit" and another one when the status changes to "Out for Delivery."
To learn more about how to set up upcoming delivery notices, please click HERE.
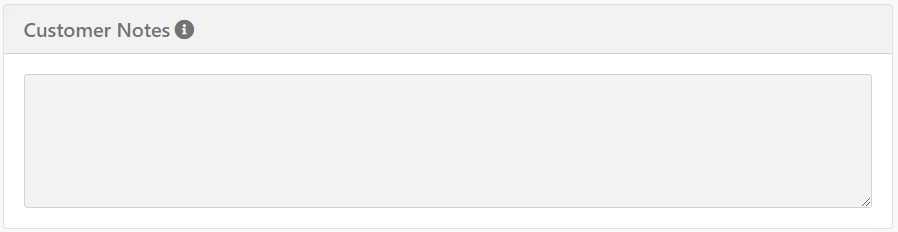
Customer Notes
In this box, you can add any important message that needs to be considered when you select this customer for a shipment. The note will be available on the shipment creation page.
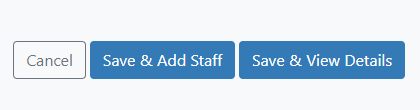
For new customers, we recommend to Save & Add Staff instead of Save & View Details to create a staff member instantly; you must create a shipment with a customer and a customer staff member.
By default, the system will create an accounting profile when the customer is created. Default values are:
-
-
Credit Status - Cash
-
Preferred Invoicing Method - Email
-
Invoicing Automation Method - Manually Invoice
-
Statement Delivery Frequency - Never
-
Collections Notice Delivery Frequency - Never
-