Tai TMS uses SendGrid as its primary email delivery service to make sure the emails you send through our TMS are delivered correctly.
An authentication process needs to be done through SendGrid.
You will receive an email from Sendgrid with a link to perform the authentication process.
In this article, you will find the step-by-step instructions for domains that are provided by GoDaddy.
Adding DNS Records in GoDaddy
1. Log in to your GoDaddy Domain Control Center
2. Select your domain to access the Domain Settings page. 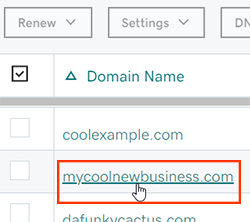
3. Select Manage DNS under Additional Settings.
4. Select Change in the Nameservers section.
5. Then choose the option:
Enter my nameservers: There, you will enter the nameservers given to you by your hosting provider, in this case, the ones you will receive on the SendGrid email.
The Cname, Host, and Value will be on the SendGrid email that has been sent to you previously. If you don't see that information, please contact support, and they will provide you with the exact values you need to enter.
6. Select Save or Connect.
7. Check the box next to Yes, I consent to update Nameservers for the selected domain(s). 
Most DNS updates take effect within an hour but could take up to 48 hours to update globally.
These steps have been taken from: https://co.godaddy.com/help/change-nameservers-for-my-domains-664?lang=en.