-
Template
-
To download the template, go to the main dashboard, and at the top, click LSP.
- Click Onboarding Guide.
-
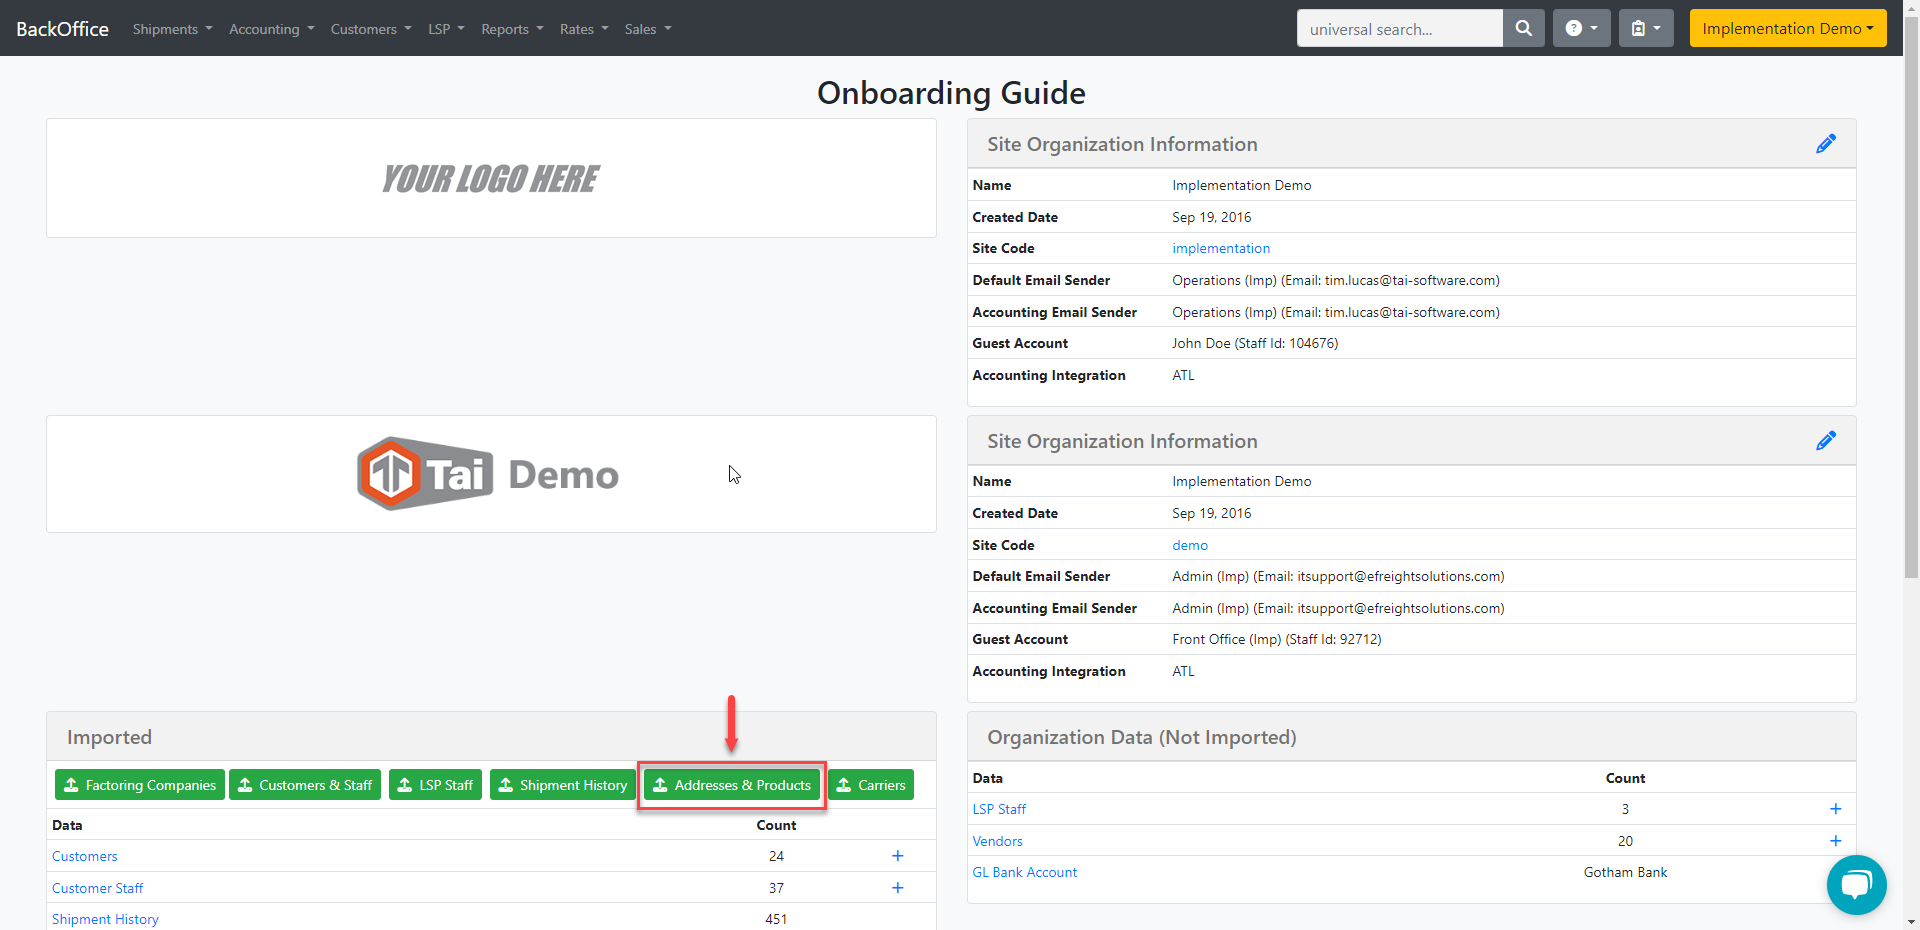
Under Imported, click the Addresses & Products option.
Note: You will need TMS Admin permissions to upload information in the Onboarding Guide. Contact Tai for uploads.
-
Verification Checklist
With this import, you can upload each customer's address and products, with the two sheet on the template, so before doing this import make sure you have imported the customers first, as the TMS will require the exact name.
When importing Addresses & Products, there are optional fields available. It is recommended that you include this information in the templates if the customer provides it. This will ensure that your customer has a complete set of information when creating the load.
Address Template
- Customer Name, Make sure to spell the name of the customer the same way as it is on the TMS, otherwise, the upload will fail because the system will not find the customer.
- Company Name, Shipper or Consignee name. This is what you will use the find the location in shipment creation.
- Location type, This option can be Origin, Destination, or both. If you want to have a default origin or destination you have the option to select Set pickup or Set destination.
- Loading Facility, Options are Business, Construction Site, and residential. Other options are Business Requiring Liftgate and Residential Requiring Liftgate; if you select these options, the system will choose Liftgate automatically when you select this location as either pickup or destination.
- Instructions, this field is optional, but adding it will ensure that the location's address is included with instructions. Please note that this information is public and will appear on documents.
- Note, The field is optional, but brokers may find it useful for internal notes when creating loads.
-
Appointment Required, Options are "True" or "False". If made True, this will select the appointment accessorial automatically.
- TSA Compliant, The value should be "True" or "False".
- City, ensure it has the correct spelling.
- The State must be limited to 2 alpha characters.
- Make sure Zip codes are entered as text with leading 0s when necessary. "07761" instead of "7761" (consider that Excel will remove leading 0s if you do not format the cell as text).
-
Remember that the system will allow you to have zip codes with no less than five characters but a maximum of 7.
-
-
For Country, ensure you add USA or Canada in that exact format. For other Countries, make sure to spell the name correctly. Avoid abbreviations in both cases because that will cause the upload to fail. Remember you can always check the TMS and see how this name shows up there.
Product Template
- Customer Name, Make sure to spell the name of the customer the same way as it is on the TMS, otherwise, the upload will fail because the system will not find the customer.
- Description, This is what you will use to find your product from the drop-down list when adding your commodity in shipment creation.