Table of Content
- Accessing Customer Address Book
- Accessing Global Address Book
- Adding a New Address
- Shipment Creation Usage
Accessing Customer Address Book
- Navigate to Customers > Companies.
- Click on the Customer ID to access their profile.
- Under Customer Tools, select Address Book.

Accessing Global Address Book
- Go to LSP > My Organization > Broker Tools > Address Book.

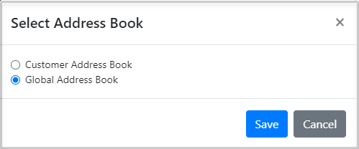
Tip: Utilize the "Add to Favorites" feature when creating or updating a shipment to save frequently used addresses in your address book. This will prompt a modal where you can choose to save the address in the customer address book for the specific customer in the shipment or as a global address that will be accessible to all your customers during shipment creation.

Adding a New Address
- Click the "Add New Address" button and fill out the required fields.

Tip: You have the option to attach accessorials to your address. This means that when you select this address during the creation or update of a shipment, the associated accessorials will be automatically included.
- Edit Existing Address: Click the "Pencil" icon next to the address you wish to modify.
- Import/Export: Utilize the "Import/Export CSV" button to add multiple addresses via an Excel template or export existing addresses for review.

Shipment Creation Usage
In the shipment origin and destination information section, users can easily search for addresses in their address book using either the Company Name or Street Address.
By entering a zip code initially, you can narrow down your search to find addresses specifically within that zip code.